image behind image free ai photo editor

Place any image behind the subject of your photo

Upload Your Main Photo

Drag and drop or click to select

Maximum file size: 50MB

Image Behind Image

AI splits your subject so any image can sit behind it

  • AI finds the subject in seconds
  • Upload, presets, or Pexels search for the behind image
  • Drag, resize, rotate, and blend each behind image
  • Add unlimited behind images
  • Download in PNG, JPG, or WebP no watermark
Finding the subject
Original photo
Subject cutout

Tip: drag the behind image to move, drag a corner to resize.
Add any image from your device as a new behind-image layer.

DOWNLOAD

How to Put an Image Behind Another Image Step by Step

1

Upload Your Main Photo

Drag and drop a JPEG, PNG, or WebP photo, or click to browse. This is the photo with the subject you want to keep in front. The AI starts working right away no data is sent to a server.

2

Wait for the AI to Find the Subject

The AI cuts the subject out of the photo in a few seconds. You will see the subject sitting cleanly in the preview area ready for a new image behind it.

3

Add the Behind Image

Pick a source: upload your own image, choose a preset, or search Pexels. Click 'Add' and the image drops in behind the subject. Drag to move it, drag a corner to resize, or use the sliders for exact control.

4

Adjust and Download

Change opacity, blend mode, or rotation on the behind image until it looks right. When you are happy, click Download and pick PNG, JPG, or WebP. Your final image saves to your device with no watermark.

What is TextBehindImg?

Put one image behind another image using AI for free, right in your browser. Upload your photo, and the AI finds the subject and lifts it off the background. Then add any image you want your own upload, a preset, or a photo from Pexels and it slides right behind the subject. Drag, resize, and rotate the middle image to get the look you want. No Photoshop, no signup, no watermark.

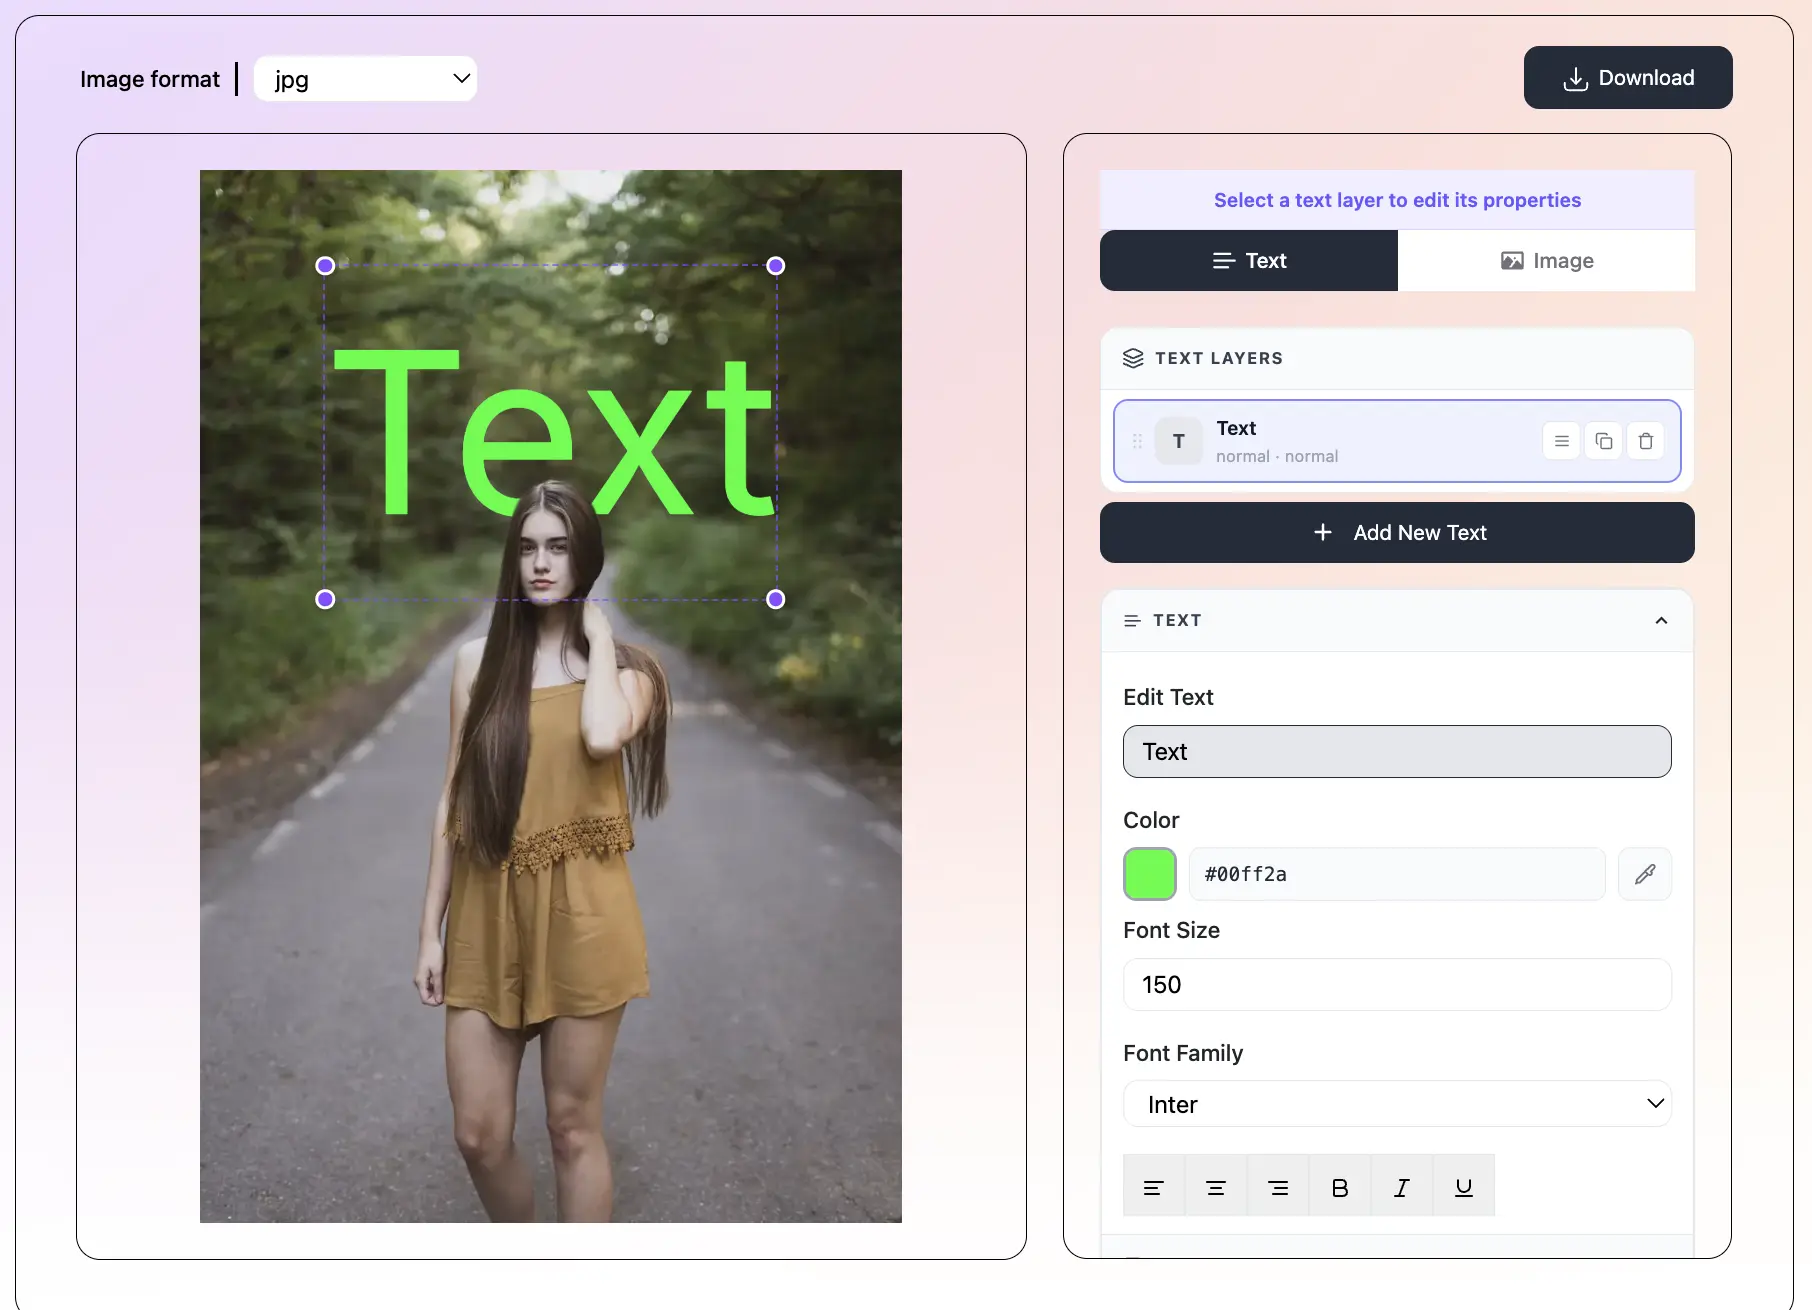
Text behind image example  person with text placed behind them
AI Finds the Subject Right Away - text behind image feature

AI Finds the Subject Right Away

Upload any photo and the AI spots the main subject in seconds people, animals, products, or objects. It cuts the subject out so any image you add goes behind it, giving your photo real depth.

Three Ways to Add the Behind Image - text behind image feature

Three Ways to Add the Behind Image

Upload your own image, pick from ready-made presets we ship with the tool, or search Pexels for millions of free photos. Click any option and it snaps behind the subject right away.

Drag, Resize, and Rotate the Middle Image - text behind image feature

Drag, Resize, and Rotate the Middle Image

Move the behind image anywhere on the canvas, resize it by dragging a corner, and rotate it with the top handle. Adjust opacity and blend mode for a soft, natural look.

Add Multiple Behind Images - text behind image feature

Add Multiple Behind Images

Add as many images behind the subject as you want. Each one becomes its own layer that you can move and edit on its own. Great for collages, ads, and creative photo edits.

100% Free and Private - text behind image feature

100% Free and Private

Every feature is free with no signup and no watermark. All AI processing runs inside your browser, so your photos never leave your device.

Download in PNG, JPG, or WebP - text behind image feature

Download in PNG, JPG, or WebP

Save your final image in the format you need. Pick PNG for the highest quality, JPG for the smallest file size, or WebP for a good mix of both.

Frequently asked questions

The AI finds the main subject in your photo and cuts it out. You then add another image that image sits behind the subject and in front of the original background. This creates a three-layer effect that looks like the image was really behind the subject when the photo was taken.

Photos with a clear subject give the best results portraits, products, animals, or objects with even lighting. The AI works with almost any photo, but a clean subject helps the behind image show through more naturally.

Yes. You can add as many images behind the subject as you want. Each one is its own layer that you can move, resize, rotate, or delete on its own.

Yes. In the Upload tab, choose any image from your device. It will drop behind the subject right away.

Type a keyword like 'beach', 'city', or 'forest' and see live results from Pexels. Click any thumbnail to add it as a behind image. All Pexels photos are free for personal and commercial use.

It is completely free. There is no signup, no subscription, and no watermarks on your downloads.

No. The AI runs inside your browser. Your photo never leaves your device. Only Pexels thumbnails are fetched from Pexels to show you search results.

Yes. The tool runs in any modern browser on any device. Upload from your camera roll, edit on the touchscreen, and save the result to your phone.

What Is the Image Behind Image Effect?

The image behind image effect places one image behind the subject of another photo. The subject stays in front, the new image sits between the subject and the background, and the original background stays at the very back. This gives your photo three layers of depth instead of the usual two.

It is similar to the popular text-behind-image trend but instead of text, you use a full image. That opens up more creative options: put a city skyline behind a portrait, drop a product logo behind a hero shot, or place a landscape behind a pet photo. The effect looks like the image was always part of the scene.

Best Uses for Image Behind Image

People use this effect for all kinds of creative and everyday projects:

  • Instagram posts with a bold background image tucked behind a portrait
  • YouTube thumbnails with a scene, logo, or product photo behind the creator
  • Ads that place a location or setting behind a product hero shot
  • Fun profile pictures with themed images behind the subject
  • Photo collages where multiple images layer behind a single hero subject
  • Event promo graphics with venue photos placed behind speakers or artists
  • Real estate photos with a neighborhood or skyline photo behind a listing subject

Three Ways to Pick the Behind Image

The tool gives you three sources for the middle image so you always have the right option:

  • Upload: use any image on your device a photo you took, a graphic you designed, or a background you already have.
  • Presets: pick from a small set of ready-made backgrounds and textures we ship with the tool. Great when you need a fast, polished look.
  • Pexels: search millions of free stock photos. Type a keyword and see live thumbnails. Click one and it appears behind the subject.

Image Behind Image vs. Text Behind Image

Text behind image is a design trick where a word or phrase appears to slip behind the subject. It works best for short, bold text that makes a quick statement.

Image behind image gives you more room to be creative. You can drop a full scene, a brand logo, a texture, or another photo behind the subject. That gives your final image more depth and story than text alone can offer.

Both effects use the same idea a middle layer that sits behind a cut-out subject but the image version is better when you want your design to feel like a full scene rather than a simple caption.

Tips to Make Your Image Behind Image Design Look Great

A few small changes can make a big difference in the final result:

  • Pick a behind image that fits the mood of your subject a calm portrait pairs well with soft nature scenes, a product shot works well with clean gradients.
  • Lower the behind image's opacity to 70-90% for a softer, more blended look.
  • Try different blend modes Multiply makes the behind image darker, Screen makes it lighter, Overlay boosts contrast.
  • Resize the behind image so it fills the frame, not just a small square behind the subject.
  • Rotate the behind image slightly for a natural, editorial feel a perfectly straight image can look flat.
  • Download PNG if you plan to use the image in another editor. Download JPG for the smallest file size for social media.

Recent Posts

🔖

Save TextBehindImg

Press Ctrl+D (or ⌘D on Mac) to bookmark and come back anytime it's free forever.