add image on image free online layer editor

Stack, drag, and resize photos on top of any image all in your browser

Upload a Base Image

Drag and drop or click to select

Maximum file size: 50MB

Add Image on Image

Stack, drag, resize, and blend photo layers in your browser

  • Unlimited image layers on top of your base photo
  • Drag, resize, rotate, and flip each layer
  • Opacity, blend mode, and size controls per layer
  • Download as JPEG, PNG, or WebP no watermark
  • Runs 100% in your browser photos stay on your device
Base image

Tip: click any image to select it, drag to move, drag a corner to resize.
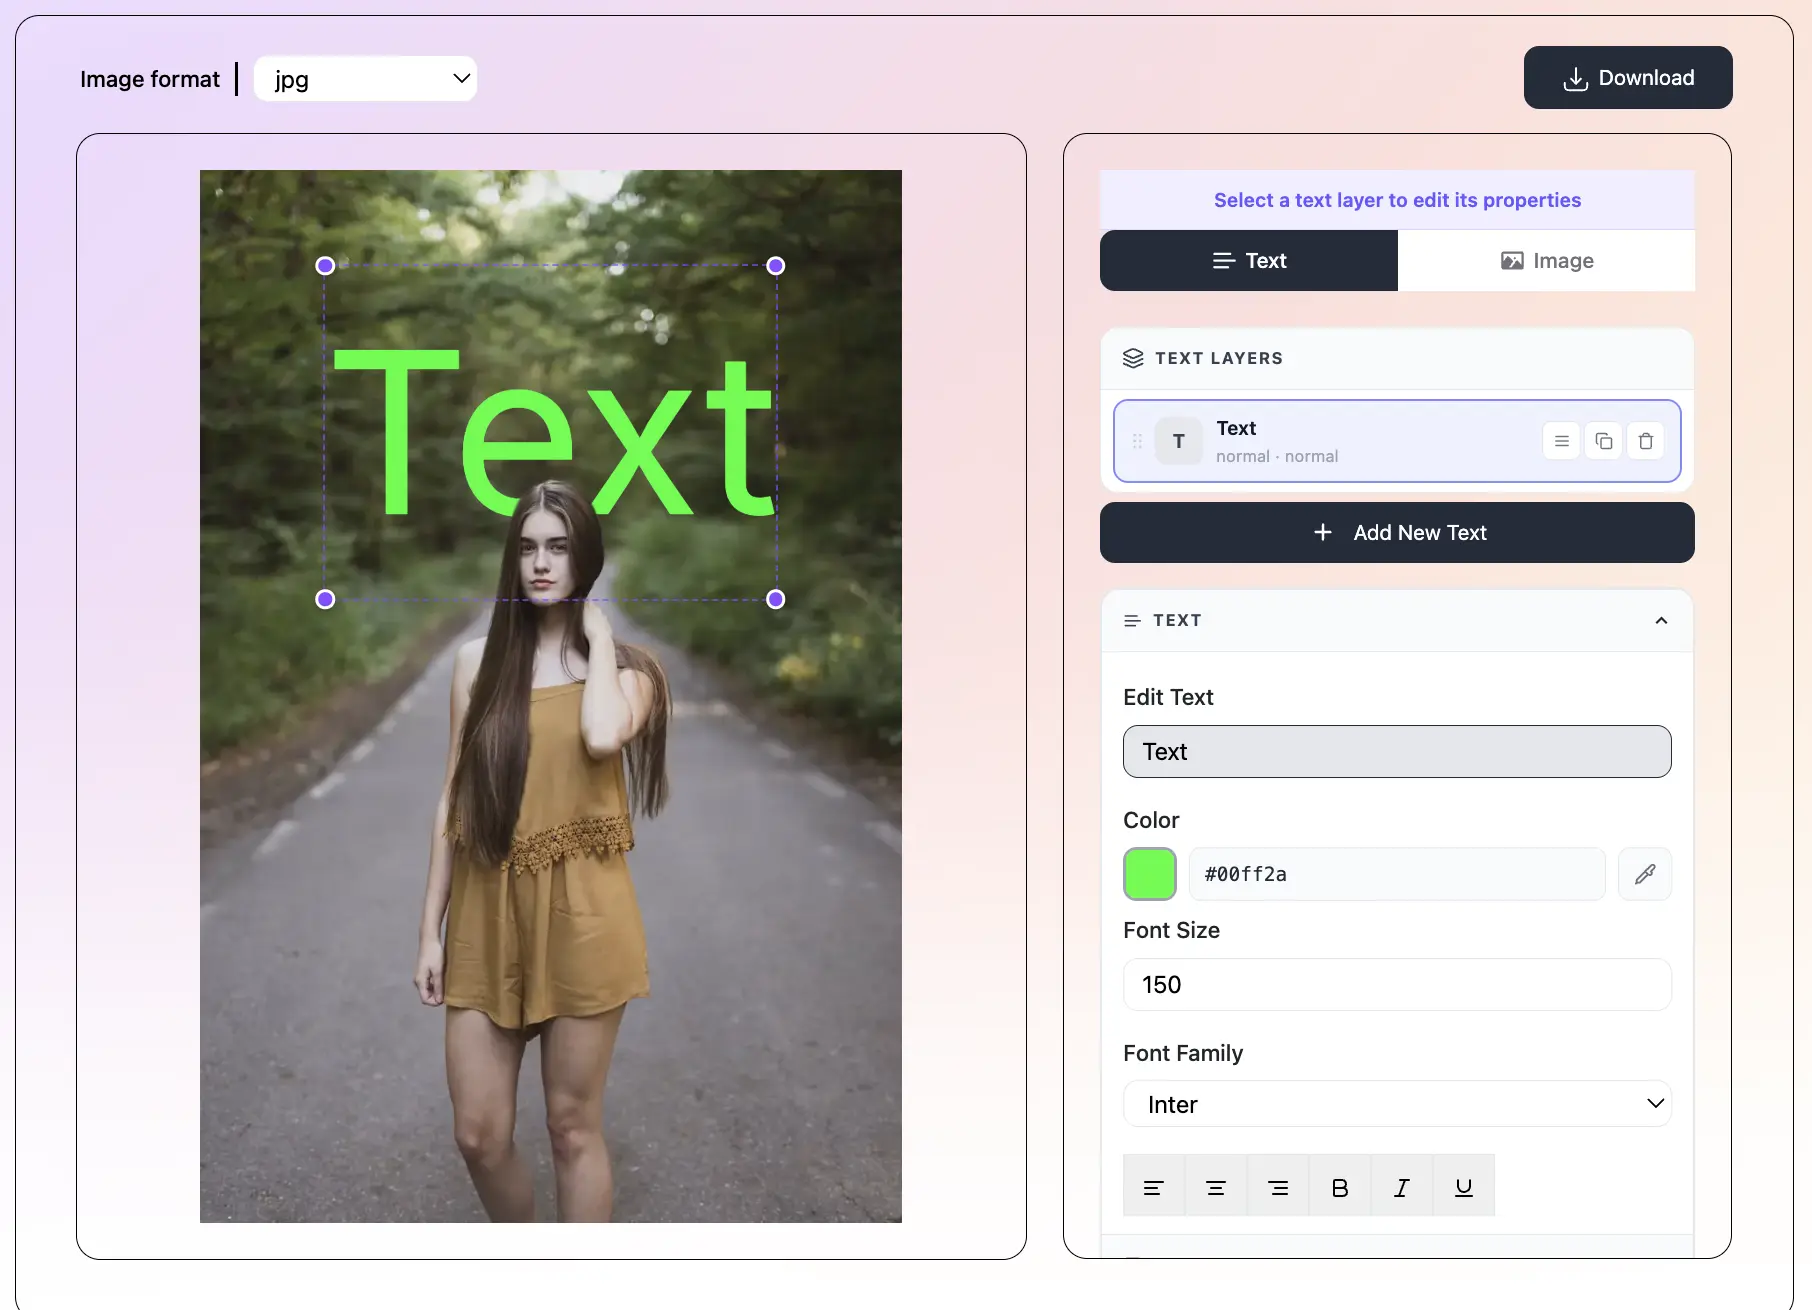
IMAGE LAYERS

    How to Add Image on Image Step by Step

    1

    Upload Your Base Image

    Click the upload area or drag and drop your main photo. JPEG, PNG, and WebP files are all supported. This photo will be the background of your design. It stays on your device nothing gets sent to a server.

    2

    Add Images on Top

    Click 'Add Image' and pick any picture from your device. It will drop onto your canvas as a new layer. Repeat to add as many images as you want logos, stickers, cutouts, or other photos. Each one becomes its own layer that you can control.

    3

    Drag, Resize, and Edit Each Layer

    Click any image on the canvas to select it. Drag it to move it, grab a corner to resize, or use the sliders for exact placement. Open the layer panel to change opacity, blend mode, brightness, or shadow. Move layers up or down to control what appears in front.

    4

    Download Your Final Design

    When your design looks the way you want, click Download. Choose JPEG, PNG, or WebP pick PNG if you need a transparent background. Set the quality and size, then save. The file lands on your device with no watermark, ready to use anywhere.

    What is TextBehindImg?

    Add one image on top of another image for free right inside your browser. Upload a base photo, then drop as many images as you want on top of it. Each image becomes its own layer that you can drag, resize, edit, or delete on its own. There is no limit on how many pictures you can add. When your design is ready, download it in JPEG, PNG, or WebP with no watermark. No signup, no app to install, and no design skills needed.

    Text behind image example  person with text placed behind them
    Add Unlimited Images as Layers - text behind image feature

    Add Unlimited Images as Layers

    Upload as many images as you want on top of your base photo. Each new image becomes its own layer, so you can stack logos, stickers, photos, cutouts, or icons in any order you like. There is no cap on how many layers you can add.

    Drag and Place Anywhere in the Preview - text behind image feature

    Drag and Place Anywhere in the Preview

    Move any image to any spot on the canvas by dragging it with your mouse or finger. Live preview shows exactly where the image sits as you move it. Use snap-to-center guides to line things up quickly and cleanly.

    Resize, Rotate, and Flip Each Image - text behind image feature

    Resize, Rotate, and Flip Each Image

    Grab any corner to resize an image while keeping the shape correct. Rotate to any angle, flip left-right or top-bottom, and set the exact width and height with sliders. Every layer has its own size and position settings.

    Edit Every Layer on Its Own - text behind image feature

    Edit Every Layer on Its Own

    Click any layer to open its own edit panel. Change brightness, contrast, opacity, blend mode, or shadow for just that one image. Move layers up or down in the stack, lock them in place, or delete them the rest of your design stays exactly the same.

    100% Free with No Watermark - text behind image feature

    100% Free with No Watermark

    Every feature is free to use. You do not need to sign up or pay. There are no watermarks on your downloads and no limits on how many images you can save. Your photos stay on your device the whole time nothing is sent to a server.

    All Download Options You Need - text behind image feature

    All Download Options You Need

    Save your final design in JPEG, PNG (with transparent background), or WebP. Pick the size you want, adjust the quality, and download in one click. The file goes straight to your device ready for social media, print, or client work.

    Frequently asked questions

    Upload your base photo, then click 'Add Image' to drop a second photo on top of it. Drag it to move it, and use the corner handles to resize. You can add as many extra images as you want, and each one stays editable on its own.

    There is no limit. You can add as many image layers as you need logos, stickers, cutouts, product shots, or full photos. Each one becomes its own layer and can be edited on its own.

    Yes. Click any layer, then drag a corner to resize while keeping the shape correct. You can also set the exact width and height using sliders, or rotate the image to any angle.

    Yes. Every image layer has its own edit panel. Change opacity, blend mode, brightness, contrast, or add a shadow for just that one image. The other layers stay exactly the same.

    You can save your design as JPEG, PNG, or WebP. Pick PNG if you want a transparent background. You can also set the quality and size before downloading.

    Yes, completely free. No signup, no subscription, and no watermarks on your downloads. There are also no limits on how many designs you can create and save.

    Yes. The editor works in any modern browser on iPhone, Android, tablets, and computers. Upload from your camera roll, drag and resize on the touchscreen, and save the finished image to your device.

    No. All editing, layering, resizing, and downloading happens right inside your browser. Your photos never leave your device, so your images stay private.

    What Does 'Add Image on Image' Mean?

    Adding image on image means placing one picture on top of another picture. The bottom picture is called the base image, and the pictures you add on top are called layers. Each layer sits above the base image, and you can move, resize, or edit each one on its own.

    This is a very common way to build designs. You can add a logo to a product photo, drop a face cutout onto a background, place a sticker on a selfie, or stack many photos together to make a collage. Because each image is its own layer, you can change one thing without messing up anything else.

    Old design tools like Photoshop can do this too, but they take a long time to learn and cost money. This tool lets you do the same thing in your browser for free, in just a few clicks.

    What Can You Make by Adding Image on Image?

    Layering images is one of the most useful design skills. Here are the most popular things people create with it:

    • Product photos with a brand logo added in the corner
    • Social media posts with a face or product cut out and dropped on a new background
    • Instagram stories with fun stickers and small photos placed on top of a main image
    • YouTube thumbnails with multiple faces or items combined into one bold cover
    • Photo collages that mix many pictures into a single frame
    • Ads and banners that place a product photo on a colored background with a small logo
    • Memes made by adding a face or object onto a funny scene
    • Watermarks that protect your original photos when you share them online

    How Image Layers Work

    Every image you add becomes its own layer. Think of layers like sheets of clear plastic stacked on top of each other. The bottom sheet is your base image. Each new image sits on a fresh sheet on top. Because the sheets are see-through around each picture, the layers underneath still show up.

    You can change the order of the sheets any time. Move a layer up to bring it to the front, or move it down to send it behind another image. You can also change how see-through each layer is called opacity so one image can gently blend into the one below it.

    Blend modes take this even further. They control how a layer's colors mix with the layers below. Screen makes light parts show through, Multiply makes dark parts show through, and Overlay boosts contrast. These small changes can turn a plain stack of photos into a design that looks polished and professional.

    Add Image on Image vs. Photo Collage: What Is the Difference?

    Photo collage tools put many images side by side in a grid. Every image gets its own square or rectangle, and the pictures do not overlap. Collages are great for showing a bunch of photos at once, but they feel boxy and flat.

    Adding image on image is more flexible. Your images can overlap, sit at any angle, be any size, and blend into each other. You are not stuck with a grid. This gives you full control to make posters, ads, thumbnails, and creative designs that a collage tool cannot make.

    If you want a quick grid of vacation photos, a collage tool works fine. If you want to combine photos in a creative, layered way like putting a person on a new background or adding a logo to a product the add-image-on-image tool is what you need.

    Tips to Make Your Design Look Great

    A few small tricks can turn a plain layered photo into a polished design:

    • Keep your top layers smaller than your base image so the background still shows around them
    • Use PNG files for logos and stickers so their background stays transparent when you place them on top
    • Lower the opacity of top layers to 70-90% for a softer, more blended look
    • Line up your layers using the snap-to-center guides for a clean, balanced design
    • Add a soft shadow behind top layers to make them stand out from the base image
    • Change the stacking order to control which images appear in front the top layer wins
    • Save your final design as PNG if you need a transparent background, or JPEG for smaller file sizes
    • For social media, try to keep important layers away from the edges so nothing gets cut off after upload

    Recent Posts

    🔖

    Save TextBehindImg

    Press Ctrl+D (or ⌘D on Mac) to bookmark and come back anytime it's free forever.