image inside text generator

Fill your text with any photo — free, instant, no signup

1080 × 1080
Drag text to reposition
Your Text

Text Fill
Sample 1 Sample 2 Sample 3 Sample 4
Tap Search or type to find photos

Photos by Pexels

Upload your own photo Landscape photos look best

Text Style & Position

How to Put an Image Inside Text — 3 Easy Steps

1

Upload or Search for a Photo

In the Edit tab, click the Upload area and choose any photo from your device. Or type a keyword in the Pexels search box — like 'tropical beach' or 'mountain sunset' — and pick a free photo from the results. The photo fills your text letters right away.

2

Type Your Text and Pick a Font

Type any word in the text box. Bold fonts like Bebas Neue, Montserrat Black, and Russo One show the most of the photo. Make the font size large — the bigger the letters, the more image you see inside. Drag the text on the canvas to position it perfectly.

3

Download Your Finished Image

Click the Download button above the canvas. Pick PNG for best quality, JPG for smaller file size, or WebP for sharing online. Your image downloads at full resolution with no watermark. Ready to post, share, or print.

What Is Image Inside Text?

Image inside text is a graphic design effect where a photo shows through the shape of your letters. The letters act like windows. The photo appears inside every letter, while the background stays solid — usually black. The result looks like a poster or magazine cover.

This image inside text generator runs entirely in your browser — no design software, no account, no watermark, and completely free. Upload any photo, type your text, pick a font, and download.

The most famous example is the word HAWAII filled with a tropical sunset and palm trees. You can make the same effect with any word and any photo in under a minute.

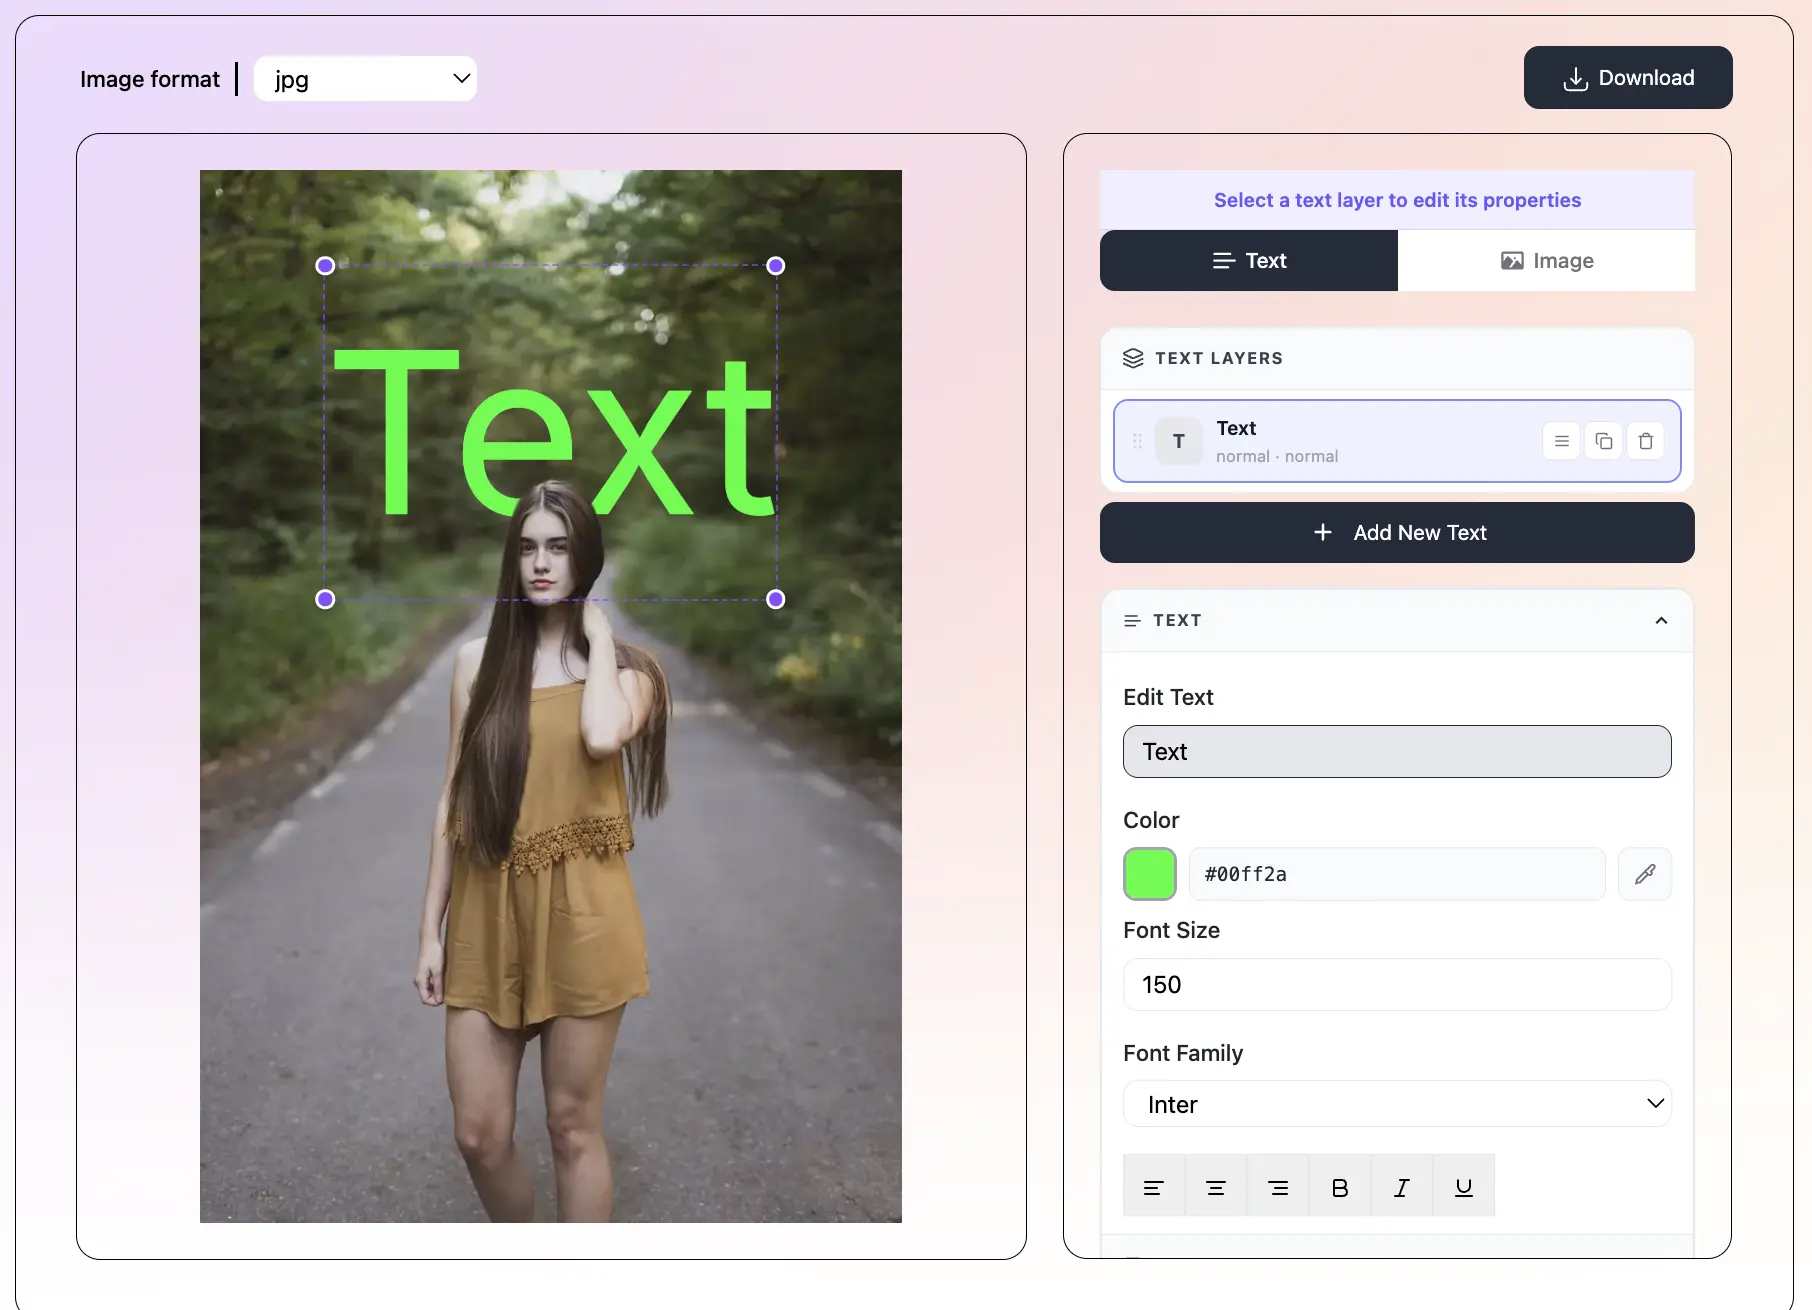
Text behind image editor — tool interface preview
Any Photo Fills Your Letters - text behind image feature

Any Photo Fills Your Letters

Upload a landscape, travel photo, nature shot, or texture. The photo appears inside every letter. Drag the image pan sliders to show the best part of the photo through your text. Works with any image from your phone or computer.

8 Presets — One-Click Start - text behind image feature

8 Presets — One-Click Start

Pick a preset and your design is already half done. Hawaii, Neon, Gold, Ocean, Fire, Chrome, Retro, or Minimal — every preset loads the right font, fill, background, and effects for that style. Just swap the text and download.

Effects: Glow, Shadow, Outline - text behind image feature

Effects: Glow, Shadow, Outline

Add a stroke outline around the letters. Add a drop shadow behind them. Turn on neon glow for a vivid light effect. Control text opacity and rotation. Stack effects together to create a totally custom look.

Image, Gradient, or Solid Color Fill - text behind image feature

Image, Gradient, or Solid Color Fill

Fill the text with a photo, a custom gradient, or a plain solid color. The gradient editor lets you pick multiple colors at any angle — perfect for neon, gold, fire, and rainbow effects without needing a photo at all.

Every Canvas Size You Need - text behind image feature

Every Canvas Size You Need

Instagram Square (1080×1080), YouTube Thumbnail (1280×720), TikTok Story (1080×1920), 16:9 widescreen, Twitter banner — or type any custom size. The text stays centered and looks crisp at every size.

100% Free — No Account, No Watermark - text behind image feature

100% Free — No Account, No Watermark

Free with no account required. Your photo never leaves your device — everything runs in your browser. Downloads have no watermark. No subscription, no trial, no credit card. Use it as many times as you want.

Frequently asked questions

It is a graphic design effect where a photo shows through the shape of your text letters. The letters act as a clipping mask — the photo only appears inside the letter boundaries, while the background around the text stays solid (usually black). The most famous example is the word HAWAII filled with a tropical sunset and palm trees. The letters look like windows into the photo.

Use the free image inside text generator at the top of this page. Upload a photo using the upload button, or search for one using the Pexels search box. Type your text in the Edit panel. The photo fills the letters automatically. Adjust the font, size, and image position. Add effects if you want. Click Download. The whole process takes under a minute and needs no account or software.

The HAWAII text effect is a poster style where the word HAWAII is filled with a tropical photo — usually a beach sunset with palm trees silhouetted against an orange sky. It became very popular on Instagram and Pinterest. To make it here: click the Hawaii preset at the top of the tool. Upload a tropical sunset photo, or search 'tropical beach' in Pexels. Set the background to black. Adjust the image pan sliders to show the sunset through the letters. Download as PNG.

Bold, wide fonts show the most of the photo because the letter shapes are thick. The best choices are: Bebas Neue (the classic choice — tall, bold, used for the HAWAII look), Montserrat Black (clean and modern), Russo One (bold and slightly condensed), Anton (ultra-condensed, good for short words at massive sizes), Cinzel (elegant Roman style, great with gold gradients), and Orbitron (futuristic, good for sci-fi themes). Thin or script fonts have narrow letters that hide most of the photo — avoid them for this effect.

Photos with vivid colors and high contrast work best. Sunsets, beaches, tropical scenes, forests, mountains, and oceans look great because the strong colors are easy to see through the letter shapes. Avoid photos that are mostly dark or low-contrast — they can be hard to read through the text. Textures like marble, wood, neon lights, circuit boards, and bokeh also work very well. The more colorful and vibrant the photo, the better the effect looks.

Yes, completely free. No account, no subscription, no watermark on downloaded images. Your photo is never uploaded to any server — it stays on your device. All the processing happens inside your browser. You can use the tool as many times as you want with no limits.

Yes. In the Edit panel, switch the fill mode to Gradient. Add color stops and choose the gradient angle. This is perfect for neon text (cyan to pink), gold text (dark gold to bright yellow), fire text (yellow to orange to red), ocean text (dark blue to cyan), and rainbow effects. No photo needed.

Any size works, but larger photos look better. A photo of at least 1080×1080 pixels is ideal. Landscape-orientation photos (wider than they are tall) fill horizontal text better. Portrait-orientation photos (taller than they are wide) fill tall text better. You can use the pan and zoom sliders to frame exactly the part of the photo you want to show through the letters.

You can add a stroke outline — a colored border around each letter. A drop shadow — a soft shadow cast behind the text. Neon glow — a glowing light effect that radiates from the letters. You can also control text opacity (make the letters semi-transparent) and text rotation. Stack effects together for a unique look.

They are two different effects. Image inside text: the photo appears inside the letter shapes — the letters act as windows into the photo. The background around the text is solid. Text behind image: the text sits behind a person or object in a photo, so it looks like the person is standing in front of the word. Text Behind Image uses AI to separate the subject from the background. Image inside text uses a clipping mask to fill the letters with a photo. Both effects are free on this site.

Yes. In the BG tab, switch to Image mode and upload any photo as the background. The text with the photo inside will sit on top of your background image. You can also blur the background or darken it with an overlay so the text stands out more. Black, dark navy, and dark gradient backgrounds tend to show the photo-filled text the most clearly.

PNG (best quality, lossless — good for printing and transparent backgrounds), JPG (smaller file size — good for sharing online), and WebP (modern format with great quality and small size). All downloads are at full canvas resolution with no watermark.

What Makes Image Inside Text Look Great?

The image inside text effect works because of a visual trick. The letters become clear windows into a photo. Your eye reads the word and sees the image at the same time. The result feels like a poster or a magazine cover — not just typed text. And you can make it in seconds, with no design skills.

The effect looks best when four things line up. First, the photo has bold, vivid colors. A bright sunset, a dense forest, or a neon cityscape shows up much better than a gray or dull photo. Second, the font is thick and bold. Wide letters reveal more of the photo inside them. Thin fonts barely show anything. Third, the background is high contrast. Black is the most popular background color because it makes the colors in the photo pop. Dark navy, dark purple, and dark gradients also look great. Fourth, the text is large. Small text has thin letters that barely show the image. Big text has wide letter shapes that reveal a lot of the photo.

When all four things work together — vivid photo, bold font, dark background, large text — the result looks professional even if you have never done graphic design before.

How to Make the HAWAII Text Effect Step by Step

The HAWAII text effect is one of the most popular poster designs on the internet. Here is exactly how to make it with this tool.

Step 1. Click the Hawaii preset in the preset bar at the top of the editor. This sets the right font (Bebas Neue), letter spacing, and background color.

Step 2. Find a tropical photo. Upload your own beach or sunset photo, or use the Pexels search inside the tool. Type 'tropical beach', 'hawaii sunset', or 'palm trees'. Pick a photo with orange, pink, or purple tones in the sky — these colors look best through the letters.

Step 3. Use the 'Slide photo' sliders to move the photo so the most colorful part — usually the sky and horizon — is in the middle of the letters. Use the zoom slider to fill the letters completely.

Step 4. Set the background to solid black. This makes the colors in the letters pop.

Step 5. Download as PNG for the best quality. Share it on Instagram, use it as a phone wallpaper, or print it as a poster.

You can use the same process with any travel destination. Try BALI, PARIS, ICELAND, TOKYO, MALDIVES, or BORA BORA with matching photos.

Which Fonts Show the Most of Your Photo?

The font you choose is the biggest factor in how good the final image looks. Bold, wide fonts reveal the most of the photo inside the letters. Here are the best fonts in this tool and when to use each one.

Bebas Neue is the go-to font for image inside text. It has tall, condensed letters with thick strokes. It is the font used in the classic HAWAII poster design. Use it for travel content, motivational words, and any design that needs a clean, bold look.

Montserrat Black (weight 900) is a clean geometric font with wide, even letterforms. It is easy to read and shows a large area of the photo. Great for Instagram posts and YouTube thumbnails.

Russo One is bold with slightly rounded edges. It has a strong, modern look. Good for sports content, gaming, and lifestyle brands.

Anton is ultra-condensed and very heavy. It works best for short single words at very large sizes — think one big word that fills the whole canvas.

Cinzel is a classic Roman serif font. It has elegant letter shapes with thick and thin strokes. Combined with a gold gradient fill, it creates a luxury, premium look. Good for wedding designs, event invitations, and high-end brand content.

Orbitron has a futuristic, geometric look. Use it for sci-fi themes, tech content, and gaming. It works especially well with neon gradient fills — cyan, purple, and electric blue.

Bungee has a blocky street sign style. The thick uniform strokes show a lot of the photo. Good for bold, urban looks.

Raleway Heavy is an elegant sans-serif with thin-to-thick stroke contrast. Works well for fashion and lifestyle content.

What Images Work Best as Text Fill?

Not every photo looks equally good inside text. Here is what to look for when choosing a fill image.

High contrast colors: The photo needs strong color and contrast to be visible inside the letter shapes. A vivid orange and purple sunset is much better than a gray cloudy sky.

Interesting textures: Photos with varied texture and detail — forest leaves, water ripples, starfields, cityscapes, coral reefs — look great because every part of the letter shows something interesting.

Avoid very dark areas: If a large part of your photo is very dark, those areas will appear inside the letters and blend into the black background. The letters will be hard to see. Try to pick a photo where the most colorful and bright areas are in the center — that is what the sliders are for.

Landscapes and nature: Sunsets, beaches, mountains, forests, oceans, and skies are the most popular choices. They have vivid colors and interesting gradations from top to bottom of the frame.

Textures: Stone, wood, marble, circuit boards, neon signs, and bokeh lights also work extremely well as text fills. These are great when you want an abstract, stylized look rather than a recognizable place.

Aerial and satellite photos: Photos taken from above — cities at night, fields, rivers, coastlines — have interesting patterns that look great inside letter shapes.

Creative Ideas for Every Platform

Not sure what to make first? Here are some ideas depending on where you're posting.

  • Instagram posts: a travel destination name (BALI, PARIS, ICELAND) filled with a photo from that place — post as a square or portrait
  • YouTube thumbnails: a one-word title or emotion (EPIC, WILD, VIRAL) filled with a dramatic background image in 1280×720
  • TikTok videos: use a portrait-size canvas (1080×1920) with a one-word caption filled with a relevant photo for the opening frame
  • Twitter and X banners: a banner-sized canvas (1500×500) with your name or brand filled with a photo that represents you
  • Wall art: download at a large custom size, fill the text with a landscape photo, and have it printed at a print shop
  • Wedding and event graphics: a couple's name or event date filled with a floral photo or venue shot
  • Motivational content: a word (DREAM, GROW, RISE, PUSH, WIN) filled with a sunrise or mountain photo
  • Sports teams: the team name or sport filled with an action shot from a game or practice
  • Brand content: a brand name or tagline filled with an image that matches the brand's colors and vibe
  • Holiday cards: season words (SNOW, JOY, LOVE, HOPE) filled with matching holiday photos

Photo-Filled Text vs Text Behind a Person — What Is the Difference?

These two effects sound similar but they are very different. Here is a simple breakdown.

Image inside text means the photo fills the letter shapes. The letters are like windows cut into the page — you see the photo through them. The background around the letters is solid. It is a graphic design technique called a clipping mask. The whole image is flat — there is no depth or 3D feeling.

Text behind image means the text sits behind a person or object in a real photo. The person in the photo appears to be standing in front of the text, like the word is painted on the wall behind them. This effect uses AI to cut out the person from the photo background and layer them in front of the text. The result has a real sense of depth — it looks like a 3D scene even though it is a flat image.

When to use image inside text: travel posters, YouTube thumbnails, motivational quotes, event graphics, wall art, Instagram posts.

When to use text behind image: social media profile photos, album covers, movie poster style content, portraits where you want to show a person and a word together.

Both tools are free on this site. No account needed for either one.

Tips to Get the Best Results

These are the tweaks that make the biggest difference between an okay result and a great one.

Go big on font size. Most people start with a font that is too small. The larger the letters, the more of the photo you see inside them. Push the font size slider until the text almost fills the canvas edge to edge.

Use the pan sliders. After uploading a photo, use the 'Slide photo Left / Right' and 'Slide photo Up / Down' sliders to move the image. This lets you frame exactly the most colorful or interesting part of the photo inside the letters.

Increase letter spacing. Adding space between the letters makes each letter easier to read and shows more of the photo inside each one. Try a letter spacing of 15 to 30 for most bold fonts.

Dark backgrounds make colors pop. A solid black or dark navy background makes the photo colors inside the letters look vivid and bright. Light backgrounds wash out the effect. Stick with dark for the strongest result.

Try the neon glow effect. Turn on Neon Glow in the Effects tab with a color that matches the dominant color in your fill image. This adds a glowing light that radiates from the edges of the letters. It makes the text feel like it is lit from inside.

Add a stroke outline. A thin white or colored stroke outline around the letters helps them stand out even when the photo inside the letters is mostly dark in some areas.

Want a different look? The Text to Image Maker lets you style text with neon glow, fire, gold, and 47+ other presets — no photo upload needed.

More free tools to try

All free, no sign-up — same photo works across every tool

Recent Posts

🔖

Save TextBehindImg

Press Ctrl+D (or ⌘D on Mac) to bookmark and come back anytime it's free forever.